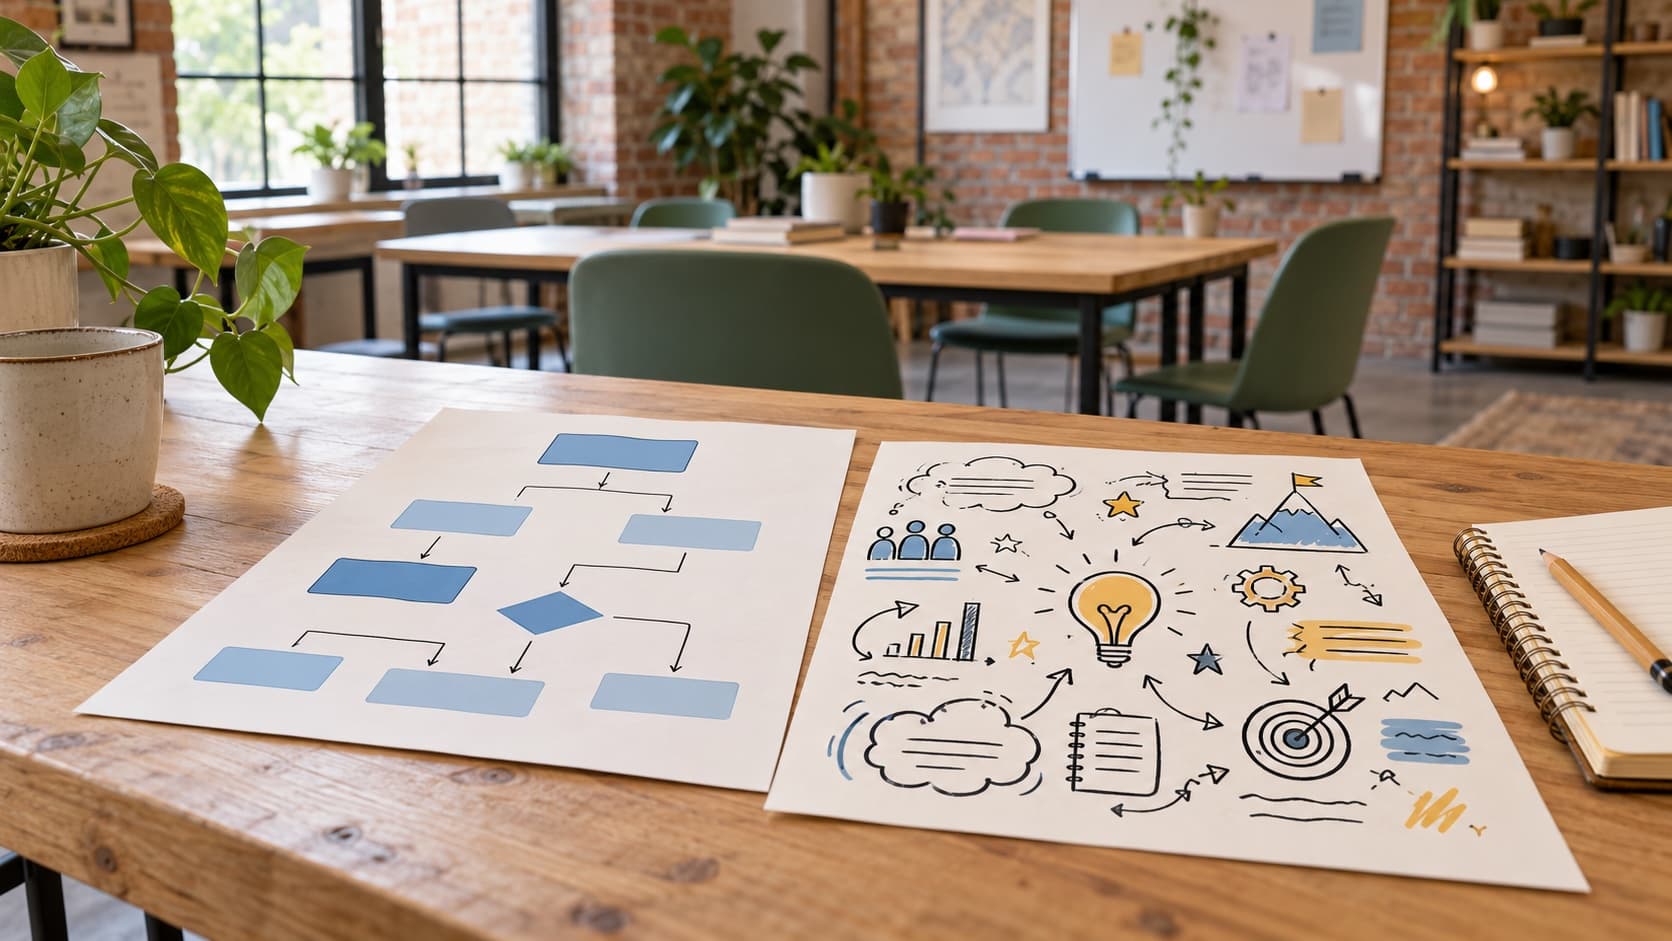
A teaching visual has to work where people will read it: on a projected slide, on a printed handout, or after the workshop. Choose Napkin AI when you need control over individual diagram elements. Try Sketchnote.app when you want a sketchnote-style recap of your lesson notes or transcript.
Both tools can help teachers and facilitators prepare visuals. The useful distinction is how you want to present the material and revise the result, rather than which tool has the longest feature list.
We make Sketchnote.app, so this is a comparison from the product's publisher. Napkin's feature and plan details were checked against its documentation on October 8, 2026. We have not run a side-by-side output test, so we make no claims about which tool is faster, more accurate, or better for learning. The header image is an AI-generated illustration, not an example of either product's output.
Editing control and export rules are the main differences
| Your requirement | Napkin AI | Sketchnote.app |
|---|---|---|
| Visual format | Diagrams, flowcharts, mind maps, infographics, and charts | Sketchnote-style visual summaries |
| Starting material | Written, pasted, or imported text | Notes, article URLs, or pasted transcripts |
| Control after generation | Edit individual visual elements | Request sketch edits or regenerate the image |
| Using the result | PNG and PDF exports on the free plan; additional formats on paid plans | PNG downloads available after buying a credit pack |
| Payment approach | Free plan and paid plans | Free generation credits to try, then one-time credit packs |
Napkin's format, editing, and free-plan details come from its product documentation and pricing page. Check both products' current plans before buying.
Choose Napkin for diagrams you need to edit element by element
Choose Napkin when the visual needs to explain a specific structure: a sequence, a hierarchy, or a relationship between ideas.
For example, a workshop on customer interviews might need a flowchart showing how to prepare questions, conduct an interview, and review the answers. If you want to move individual elements or adjust their appearance, Napkin's editable visuals give you that control.
It is also worth trying first if your immediate requirement is a free PNG or PDF export. Napkin currently includes those formats in its free plan, subject to its generation allowance. See Napkin's plans.
Try Sketchnote.app for a visual recap of the whole session
Try Sketchnote.app when your goal is a visual recap that brings the session's main ideas together.
Think of a lesson summary with a central topic, supporting ideas, an example, and a question students can answer afterward. Or a workshop takeaway that participants can revisit without opening the full transcript.
Start with material you already have. Paste the relevant notes or transcript, or use an article URL. Generate a sketch and check the wording against the source. If it needs changes, request an edit or regenerate it before sharing. This is an image-based workflow; do not assume it offers the same element-by-element control as a diagram editor.
You can try generation with free credits. Purchasing a credit pack makes PNG downloads available for slides, handouts, and sharing. Generations use credits, and free regeneration allowances depend on the pack. Allow for revisions and check credit expiry when choosing one. See current pricing for limits and expiry details.
Use the same lesson notes to check what each tool preserves
Comparing two galleries tells you little about how either tool will handle your material. Give both tools the same short source instead.
Here is an original sample you can copy:
Lesson: Evaluating an online claim
Audience: Secondary-school students
Learning goal: Students can explain how to check a claim before sharing it.

Key ideas:
- Find the original source rather than relying on a screenshot.
- Check who wrote it and when it was published.
- Look for supporting evidence from independent sources.
- Separate a factual claim from an opinion.

Example: A viral post says a school will close next week. Check the school's
official announcement and its date before forwarding the post.

Exit question: What would you check first, and why?
For this lesson, you might want a sequence of checks to explain during class, or a recap students can keep afterward. Decide which job the visual needs to do before choosing your preferred result.
Read every label. Does the output preserve the distinction between a claim and an opinion? Does it keep the example accurate? Can students find the exit question?
For more ideas on using the recap in class, see our classroom workflow.
A workshop handout needs a next action, not just a summary
A workshop handout should help participants act after the session. Use a source with a concrete next step:
Workshop: Giving useful feedback
Audience: New team leads
Goal: Participants can give specific feedback and agree on a next step.

Process:
1. Describe the situation.
2. State the behavior you observed, without guessing intent.
3. Explain its impact.
4. Ask for the other person's perspective.
5. Agree on one next step and a time to check progress.

Example: In yesterday's handover, two customer issues had no owner.
The next shift had to repeat the investigation. What happened, and how
can we make ownership clear next time?

Takeaway: Prepare one real feedback conversation using these steps.
Check whether the output keeps the steps in order and preserves the question asking for the other person's perspective. A recap that omits that question changes the exercise. Keep the final action visible so participants know what to do after the session.
Test readability on a slide and a printed handout
Before choosing a tool, put its result into a real slide or print a sample at the intended size.
- Can someone at the back of the room read the text?
- Does the printed version still make sense in grayscale?
- Are the key ideas accurate, with no invented claims?
- Is the next action easy to find?
- How much correction did you need before it was ready?
Use this small scorecard to make the comparison concrete:
| Check | What to record for each tool |
|---|---|
| Source accuracy | Missing ideas, changed meanings, or invented claims |
| Readability | Whether every label is readable at the intended slide or print size |
| Revisions | Number of edits or regenerations before the visual is usable |
| Preparation time | Time from pasting the notes to a checked, usable export |
| Cost | Plan or credit cost, including any revisions |
Decide what counts as usable before you start, and apply that standard to both outputs. Neither tool removes the need to check AI-generated content against your source.
Make one recap before paying for a pack
Copy either sample above into Sketchnote.app, or use notes from your next session. Generate a preview with free credits and check it against the source. Try the same material in Napkin if you need to compare editing control or export options.
If the sketchnote works for your session, check credit-pack pricing before buying a pack for PNG downloads. Confirm the included credits, regeneration allowance, and expiry against how often you plan to use it.